If you are anything like me, you keep a sharp eye on emerging technologies with the potential to improve your learner experience. And virtual reality learning has been on my radar for quite a while.
So, when I was given the opportunity to experience the LearnBrite VR Scenario platform first hand, I jumped on it!
In this post, I provide an overview of building a virtual reality learning experience with LearnBrite, and share some thoughts on the process from a traditional e-learning perspective.
Virtual Reality Learning and LearnBrite
LearnBrite has developed several virtual reality tools specifically for the e-learning industry. They have three main offerings: VR Workplace for meetings and webinars, VR Campus for collaborative learning experiences, and VR Scenario which is what I used to create my virtual reality learning experience.
VR Scenario is a collection of tools that allow you to create engaging and immersive learning experiences. The end product is HTML5, so the experience can be accessed from any browser or mobile device with or without a VR headset. You can even package as SCORM; embed into Captivate or Storyline; or prep for LTI.
Creating My Virtual Reality Learning Experience
For my demo, I created a scenario where players take an interactive personality test, explore their resulting personality type, and learn more about the test and the other personality types.
A VR Scenario project consists of:
- Spaces
- Items
- Actors
- Hotspots
- Achievements
- Scenarios
Spaces
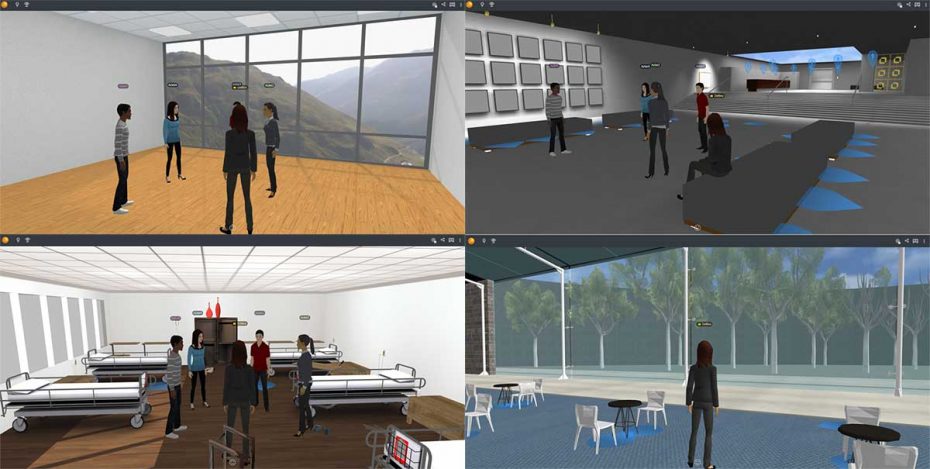
A Space can be any conceivable virtual space: an office, an auditorium, a café, a hospital, the outdoors, etc. LearnBrite offers 15+ customizable templates to get you started, or you can upload your own 3D model to use as your space.
Items
Items are objects within a space, and can be any 3D object in the right format. LearnBrite has a library of items to choose from, or you can upload your own. There are entire libraries of 3D objects (and spaces) on sites like Google Poly Blocks, Sketchfab, and 3D Warehouse or pretty much any open standards 3D object repository you can find.

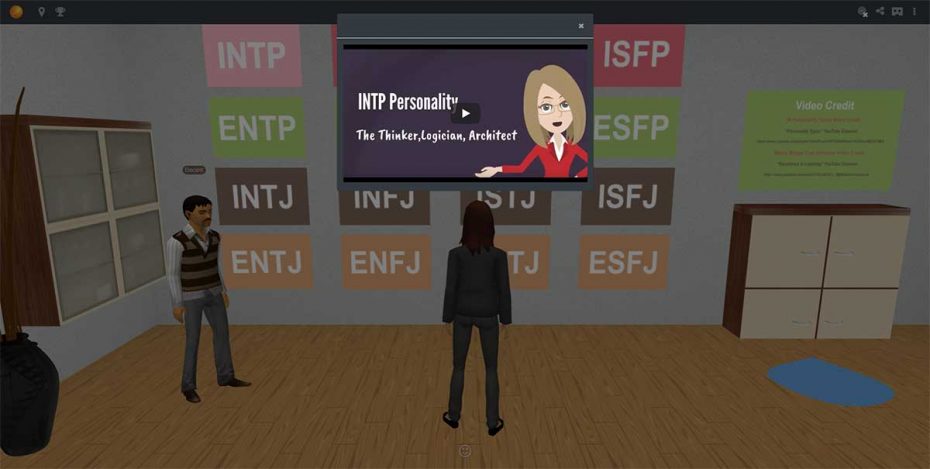
I chose to customize the office template for my space, and populate it with furniture and other items to make it feel like a counselor’s office. I then added media boards to feature videos about each personality type.
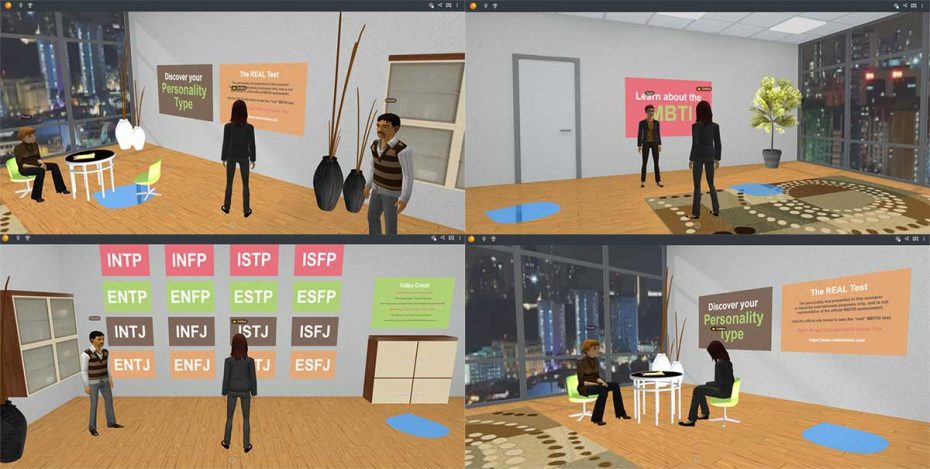
Media boards are items used to feature any type of multimedia, and can also be used for real-time screen sharing.
Actors
Actors are 3D “bots” that can help guide players through a virtual reality learning experience, or play more interactive roles, such as patients, coworkers, or customers.
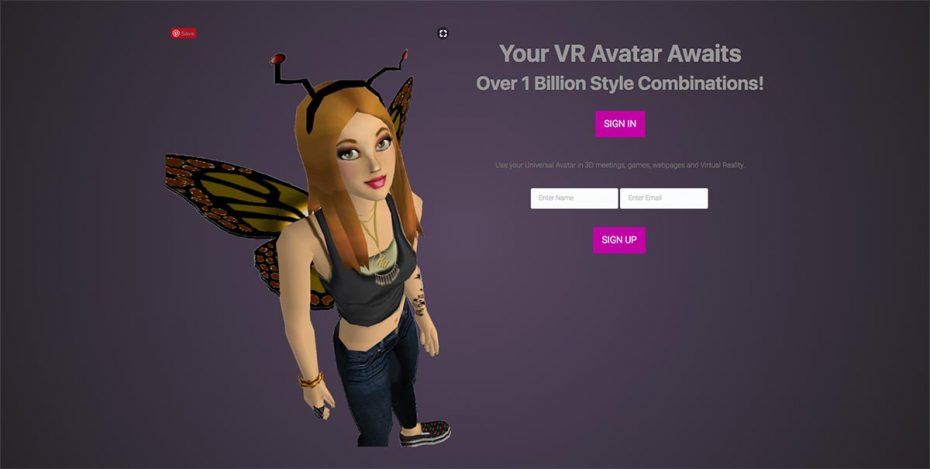
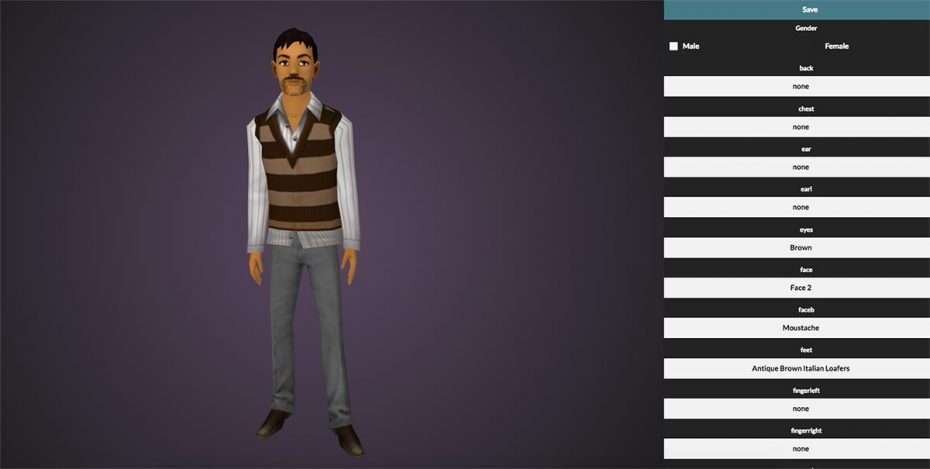
Actors are created using the UniversalAvatars platform. With Universal Avatars, you have endless ways to customize your actors.
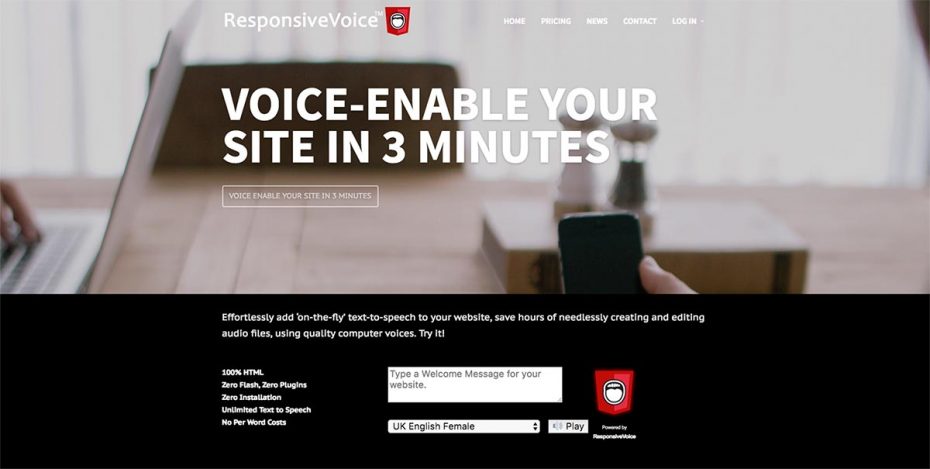
Actor voices and language are defined using ResponsiveVoice, or you can use your own voice over files. Actor gestures – like waving, smiling, or thinking – can be added from a scenario.
I kept my actors fairly conservative, since my space is a professional setting; but you can get as creative as you like with your avatars.
Hotspots
Hotspots determine how actors and players move around in a space. Hotspots can be created in spaces, but are mostly controlled from scenarios.
Achievements
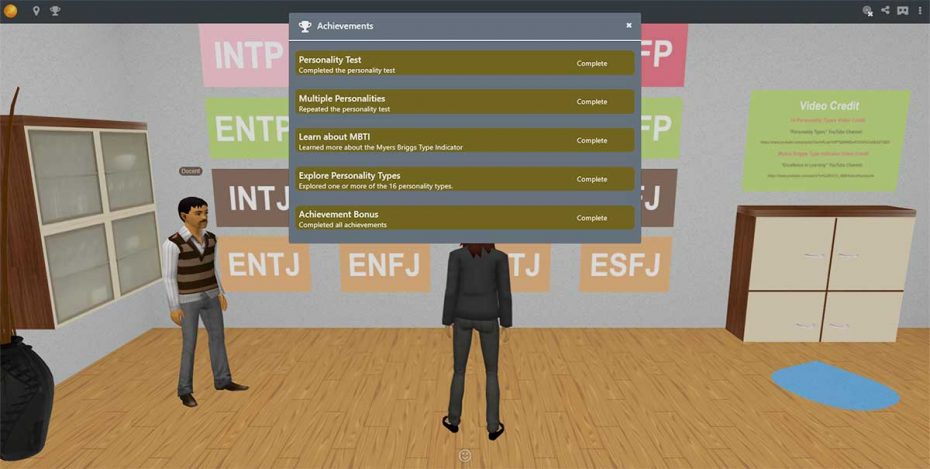
Achievements are the main gamification feature in LearnBrite. Achievements can be awarded for starting or completing tasks like engaging in a conversation, answering a question, watching a video, or collecting an item.
I created achievements for taking the personality test, completing the test multiple times, watching videos, and for completing all achievements.
Scenarios
The scenario is the backbone of a virtual reality learning experience in LearnBrite. Almost everything that happens within a space is directed by its associated scenario.
LearnBrite scenarios are built using ChatMapper. ChatMapper is a “Nonlinear Dialogue and Scenario Editor” and it does exactly what its definition implies. It gives you the ability to create a branching dialogue situation with almost endless possibilities at your disposal for increasing interactivity, user agency and of course learner engagement.
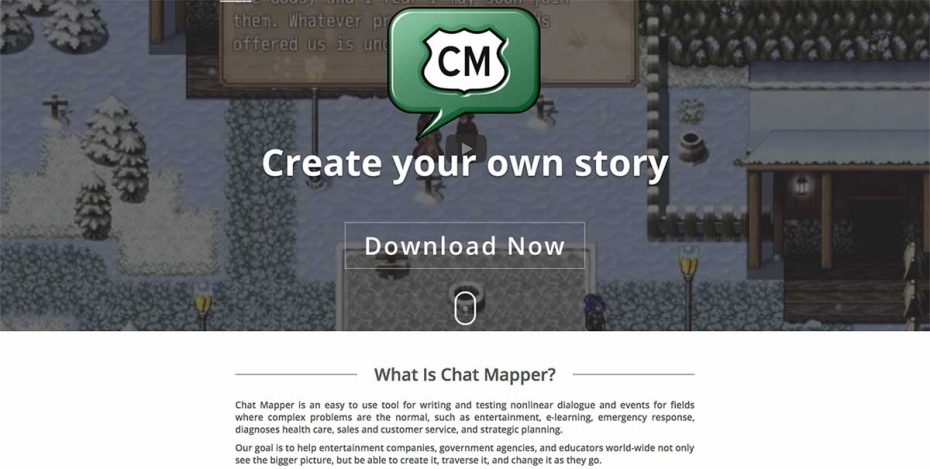
A Chat Mapper scenario contains the dialogue between actors and players, as well as conditions and scripts that allow you to create dynamic interactions between the characters. This results in an engaging learning experience with many possible outcomes.
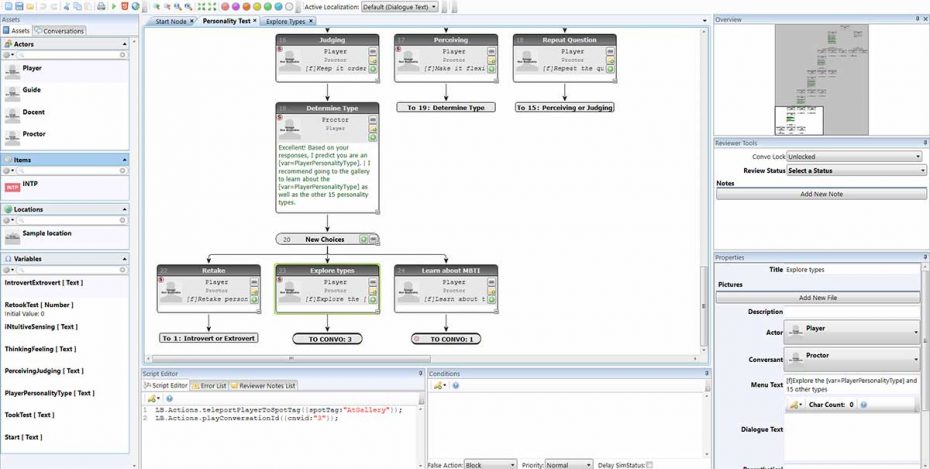
A VR Scenario template (shown in the “Spaces” section above) begins with a pre-formatted ChatMapper package that contains everything you need to get started. You can then alter the template to include your own avatars, dialogue nodes, branching, and JavaScript code to control your virtual reality learning experience.
Some common things you can do with ChatMapper include:
- Controlling actor avatars, voices, and gestures
- Directing actors and players to hotspots
- Uploading 3D models to a space
- Changing the state of items in a space
- Awarding achievements
- Launching iFrames and pop-up windows
I really just touched the surface of what ChatMapper can do. But with JavaScript at your disposal, the possibilities are endless.
It helps to have a bit of JavaScript coding experience when working in ChatMapper; but it isn’t necessary. LearnBrite has documentation and support available for any experience level.
Virtual Reality Scenarios in Action
Here is a link to the
Personality Assessment Training demo I created.
(
NOTE: Interested in creating your own
VR-Ready training experiences without writing a single line of code?
Start your free trial to discover how to boost learner engagement… guaranteed.)
The Virtual Reality Learning Curve
While I did experience a bit of a learning curve with ChatMapper, I found my greatest challenge was learning to write effectively for a 3D environment. I needed to make a shift from linear to non-linear thinking.
There is a lot more to keep track of when writing for an immersive experience. In addition to writing the dialogue, you need to account for how players interact with actors, objects, and the space itself.
Some of the questions I asked myself during the process were:
How do your actors and players move around in your space?
Does a conversation need to change after the first encounter with an actor?
What happens at the end of a conversation? Is the player left to explore, are they given choices, or are they transported somewhere else?
The key was to produce a script that allowed for the overall experience, not just the dialogue within it.
The Virtual Reality Learning Advantage
While creating my demo, I kept thinking of ways the VR Scenario platform could simplify contemporary e-learning challenges.
Creating branching scenarios can be a tedious process using traditional e-learning software. Yet this feature flows naturally in VR Scenario. Role-playing scenarios that rely on branching like customer service, gender sensitivity, and sales are a good fit for virtual reality platforms.
Adaptive learning is another feature both e-learning software and learning management systems struggle to master. But with Chat Mapper and JavaScript at your disposal, creating a more personalized and tailored training experience is much more attainable using VR Scenario.
The immersive environment of VR Scenario makes it possible to create training simulations we could only dream of using traditional e-learning software.
The immersive experience allows learners to make mistakes and learn from them in a safe environment. This experience is perfect for training first responders, teaching workplace safety, or offering interactive task tutorials.
Avoiding Virtual Rabbit Holes
So much of the virtual reality creation process is fun, like creating avatars and searching for 3D objects, that it is easy to lose track of your intended purpose.
Before jumping in, I recommend starting with a script outline that includes dialogue nodes, actor profiles, learning objectives, a rough sketch of your space with items, and a general idea of how players and actors move around your space.
This should help you from getting sucked too deep down those virtual rabbit holes.
Ready for Prime Time
I was pleasantly surprised to discover just how “ready for prime time” virtual reality learning really is. I highly recommend giving it a try. Your learners will thank you, and you will have a blast!
Deltina Hay is the Director of Elearning Development at
Elearning Delta. Elearning Delta specializes in custom course creation and innovative learning solutions. Deltina is the author of three books and over 20 online courses, and is a regular contributor to many industry publications.

Recent Comments